In this tutorial, you are going to learn how to work with pagination in Spring Data JPA. If you have a few records you can just return all of them from a single API endpoint. In the real world though you will probably have more than a few records. In this case you wouldn’t want to return all of the records to the client for performance reasons.
On the client you would display a smaller number of records at a time and allow the user to click on next, previous or a specific page number. To simulate that in this demo you will use a third party library to create a large dataset.
Spring Data JPA
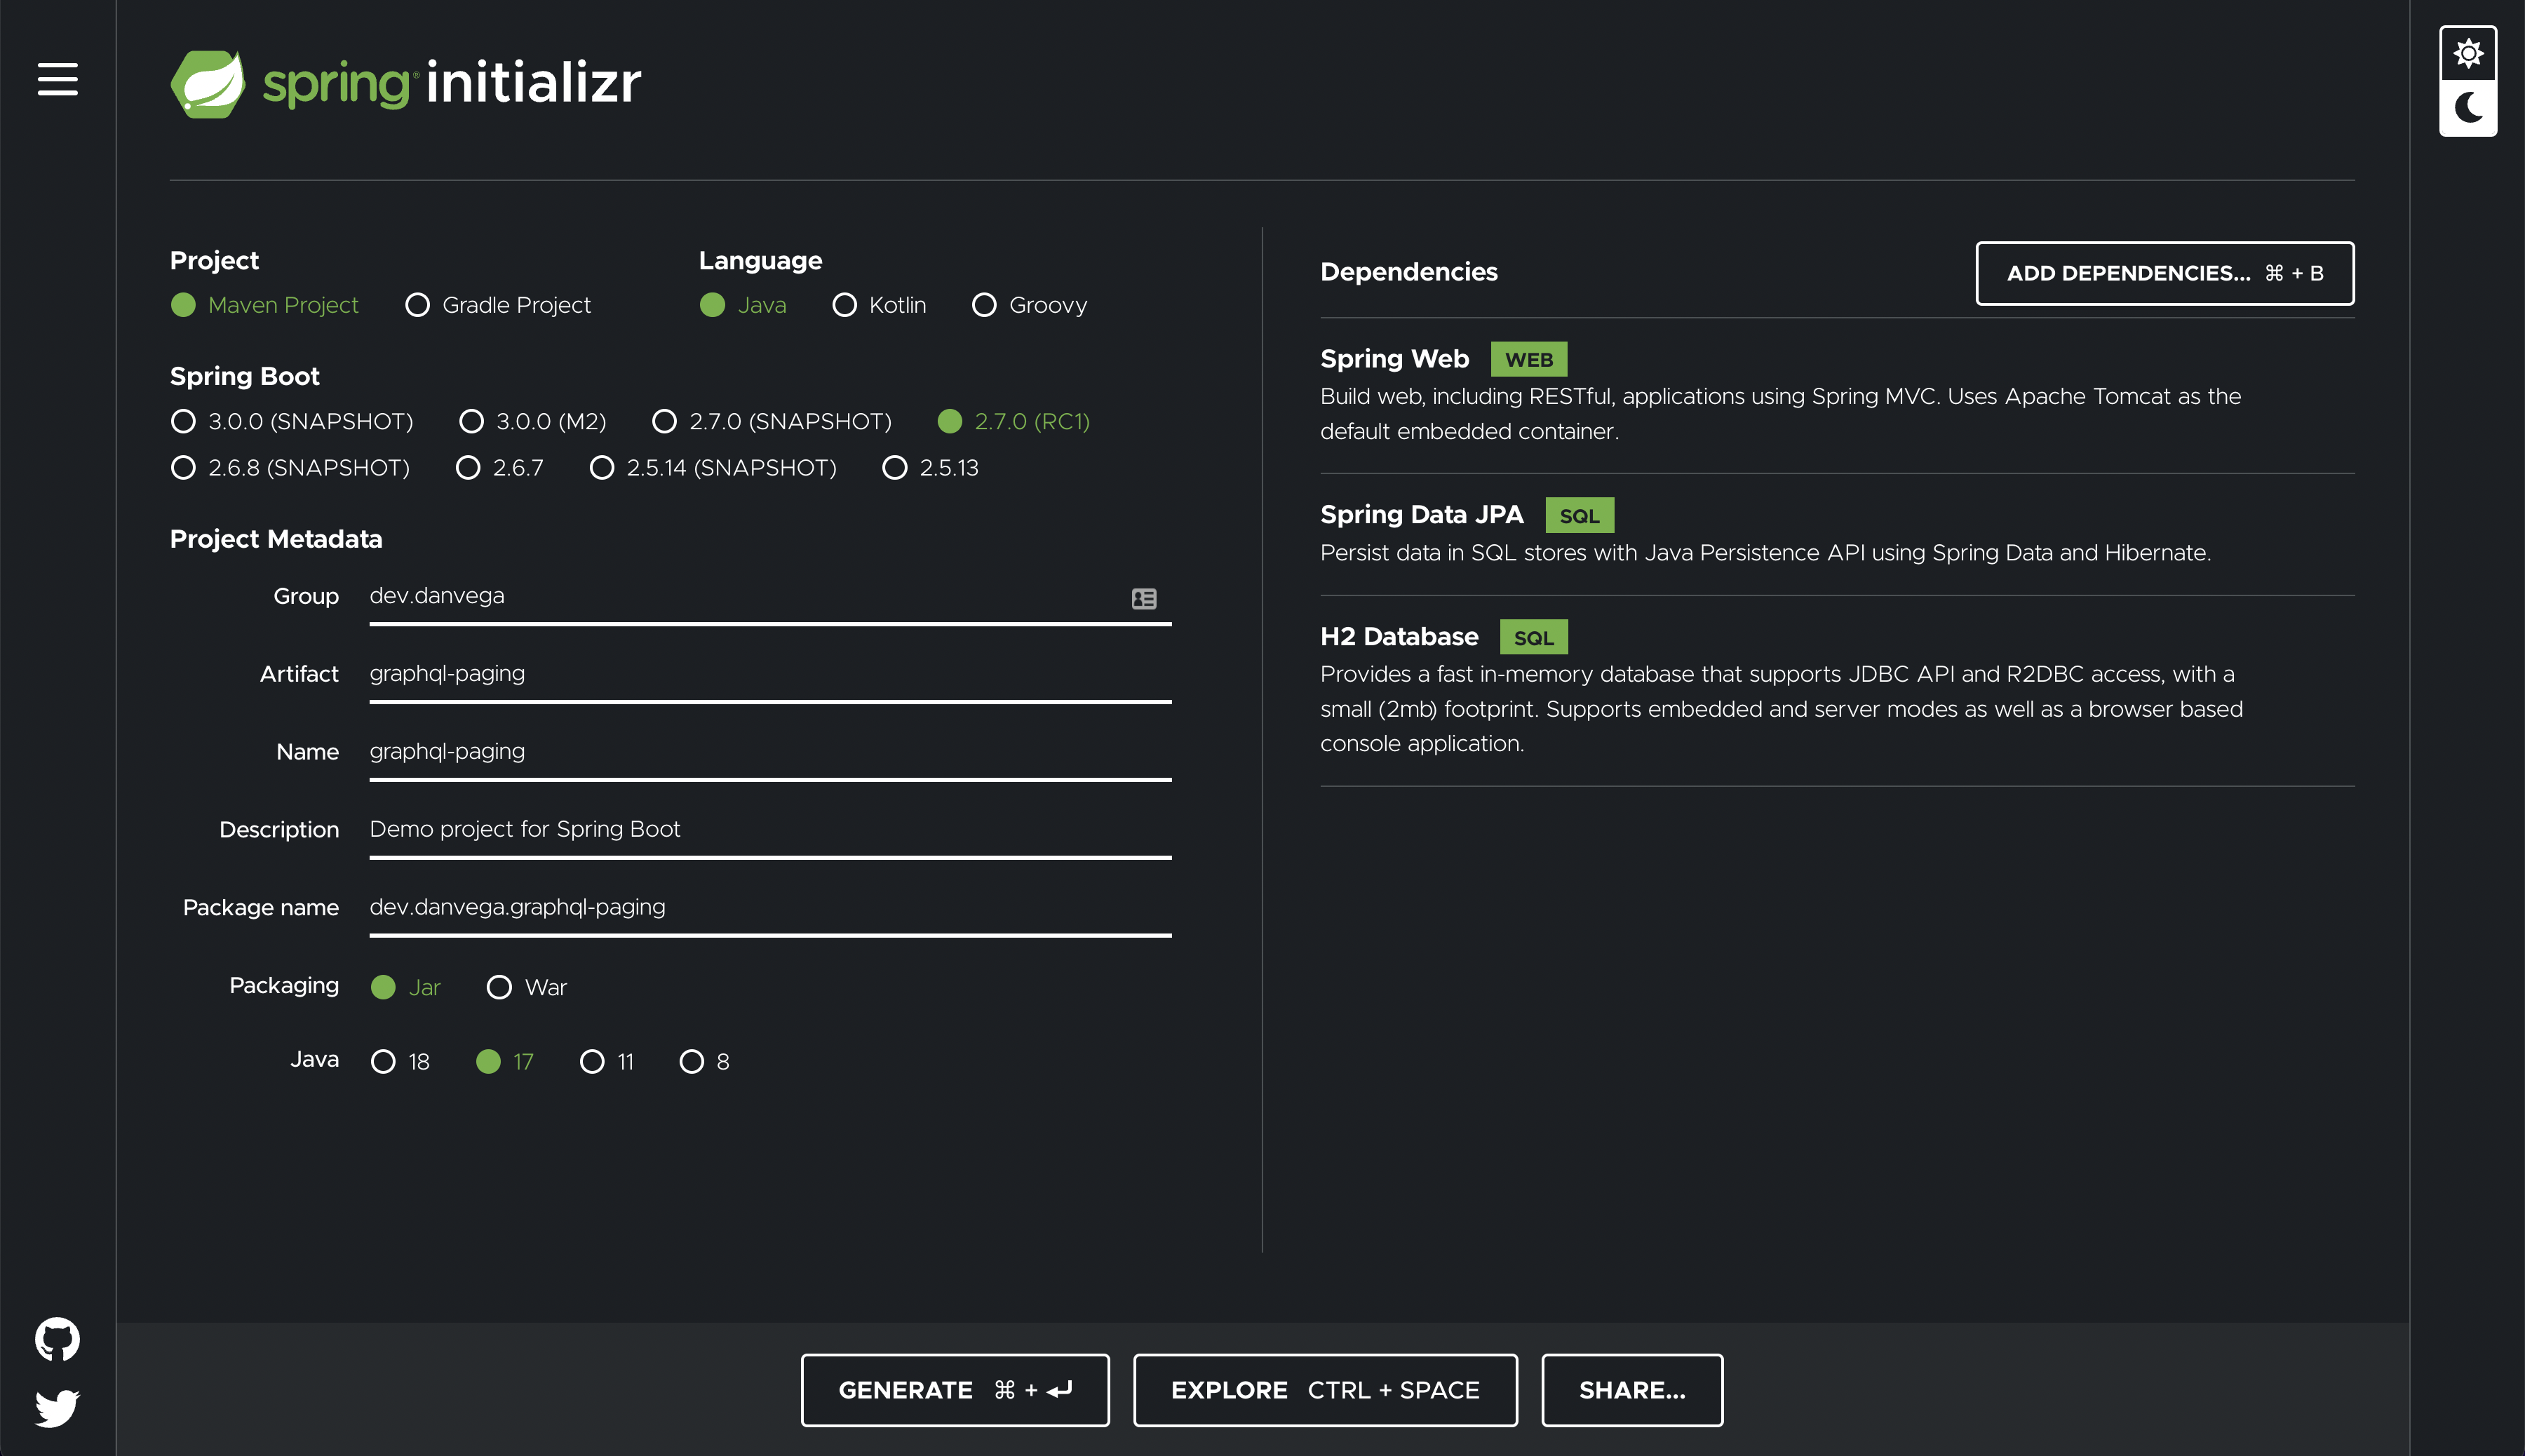
To get started head over to start.spring.io and create a new application with the following:
To get started open up application.properties and set the following properties for your database:
spring.h2.console.enabled=true
spring.datasource.generate-unique-name=false
spring.datasource.name=people
spring.jpa.show-sql=true
With the database connection in place you need to start by defining your entities. This application is going to model a CRM where you have a person and their address. Create a new model package and add the following Person and Address entities:
@Entity
public class Person {
@Id @GeneratedValue
private Integer id;
private String firstName;
private String lastName;
private String phoneNumber;
private String email;
@OneToOne(cascade = CascadeType.ALL)
@JoinColumn(name = "address_id", referencedColumnName = "id")
private Address address;
public Person() {
}
public Person(String firstName, String lastName, String phoneNumber, String email, Address address) {
this.firstName = firstName;
this.lastName = lastName;
this.phoneNumber = phoneNumber;
this.email = email;
this.address = address;
}
// getters, setters & toString
}
@Entity
public class Address {
@Id @GeneratedValue
private Integer id;
private String address;
private String city;
private String state;
private String zip;
public Address() {
}
public Address(String address, String city, String state, String zip) {
this.address = address;
this.city = city;
this.state = state;
this.zip = zip;
}
// getters, setters & toString
}
Spring Data JPA Repositories
With your entities in place you need a way to read and persist data from your database. This is where Spring Data really shines in giving you the functionality to perform most of your common operations right out of the box. What I really love is that this is a consistent programming model across all of the Spring Data projects 👏🏻
Create a new interface (you heard me right) named PersonRepository. Alone this wont do much but the real power is made available to you when you extend one of the Spring Data Repositories:
You are going to extend the PagingAndSortingRepository which gives you 2 methods you will need for pagination. This interface in turn extends the CrudRepostiory so you will also get all of the CRUD methods for free.
When you extend a repository you have to give a type which for this example will be Person and the 2nd argument is the type of the @id in Person which is an Integer. At runtime Spring will see that you have extended one of the repositories and turn this into an implementation that you can use.
package dev.danvega.graphqlpaging.repository;
import dev.danvega.graphqlpaging.model.Person;
import org.springframework.data.repository.PagingAndSortingRepository;
public interface PersonRepository extends PagingAndSortingRepository<Person,Integer> {
}
Sample Data Loader with a Command Line Runner
You need a way to load some data when the application starts. You could create a SQL file in the resources/ directory but who wants to write SQL by hand? Instead you can write some Java code and persist some new records to the database.
The way you can achieve this is by utilizing an interface called the CommandLineRunner. This will allow you to execute some code after the ApplicationContext is created and right before the SpringApplication.run() method executes. I have written a post on the CommandLineRunner here if you would like to read more about it.
You will need to create a new class called SampleDataLoader that implements the CommandLineRunner interface. Implement the single method from the command line runner named run() and for now just log a message. If you run the application you should see that message in your console.
@Component
public class SampleDataLoader implements CommandLineRunner {
private final Logger logger = LoggerFactory.getLogger(SampleDataLoader.class);
private final PersonRepository repository;
public SampleDataLoader(PersonRepository repository) {
this.repository = repository;
}
@Override
public void run(String... args) throws Exception {
logger.info("Loading sample data...");
}
}

Now that you know that the run method will execute right before the application starts this is a good place to add some data to our database. Create a new instance of Person and use the CrudRepositories save method to persist a new record to the database. If you visit the H2 Console you should your new person and address records.
@Override
public void run(String... args) throws Exception {
Person person = new Person("Dan",
"Vega",
"216.555.1212",
"[email protected]",
new Address("Street","City","State","Zip"));
repository.save(person);
}
While this works it’s going to take us a long time to get enough sample data in our database to properly test out pagination.
Java Faker
Java Faker is a really great library that allows you to generate fake data. I created a tutorial on this if you’re interested in watching that.
In the run method you can create a new IntStream which allows you to create 100 new Person objects. Inside of the person constructor you are going to use the Faker library to generate fake data for each of the fields.
private final PersonRepository repository;
private final Faker faker;
public SampleDataLoader(PersonRepository repository) {
this.repository = repository;
this.faker = new Faker();
}
@Override
public void run(String... args) throws Exception {
// create 100 rows of people in the database
List<Person> people = IntStream.rangeClosed(1,100)
.mapToObj(i -> new Person(
faker.name().firstName(),
faker.name().lastName(),
faker.phoneNumber().cellPhone(),
faker.internet().emailAddress(),
new Address(
faker.address().streetAddress(),
faker.address().city(),
faker.address().state(),
faker.address().zipCode()
)
)).toList();
repository.saveAll(people);
}
If you run the application you should see 100 records in the Person and Address table. Not only do you have data but you have some pretty valid data that you can also do some filtering and sorting on.

Now that you have some data in the database you can focus on pagination.
Spring Data JPA Pagination
To get started on the web side create a new PersonController that is annotated with @RestController and @RequestMapping. In this controller you will create a field of type PersonRepsoitory and have an instance of the repository autowired for you through constructor injection. If you want to learn why constructor injection is the preferred method for dependency injection in Spring check out this video.
@RestController
@RequestMapping("/api/people")
public class PersonController {
private final PersonRepository repository;
public PersonController(PersonRepository repository) {
this.repository = repository;
}
}
If you take a look at the PagingAndSortingRepository you will see a method called findAll() that takes an argument of type Pageable.
public interface PagingAndSortingRepository<T, ID> extends CrudRepository<T, ID> {
/**
* Returns all entities sorted by the given options.
*
* @param sort the {@link Sort} specification to sort the results by,
* can be {@link Sort#unsorted()}, must not be {@literal null}.
* @return all entities sorted by the given options
*/
Iterable<T> findAll(Sort sort);
/**
* Returns a {@link Page} of entities meeting the paging restriction provided in
* the {@link Pageable} object.
*
* @param pageable the pageable to request a paged result, can be
* {@link Pageable#unpaged()}, must not be {@literal null}.
* @return a page of entities
*/
Page<T> findAll(Pageable pageable);
}
Pageable is actually an interface but there is an implementation of that interface that we can use called PageRequest. If you look at the API there is a static method of(int page, int size) that takes the page and size of the request.
The page is the page number which starts at 0 and the size the number of records to display per page. This means that if you want the first 10 records you can call PageRequest.of(0,10). With that information you should have what you need to create an endpoint that allows the consumer to provide those values.
@RestController
@RequestMapping("/api/people")
public class PersonController {
private final PersonRepository repository;
public PersonController(PersonRepository repository) {
this.repository = repository;
}
@GetMapping
public Page<Person> findAll(@RequestParam int page, @RequestParam int size) {
PageRequest pr = PageRequest.of(page,size);
return repository.findAll(pr);
}
}
If you run the application and visit http://localhost:8080/api/people?page=0&size=3 you should see 3 records displayed. If you change the page request parameter to 1 you should see the next 3 people in the database.
If you notice the return type of the endpoint it is a Page<Person>. At this point it would serve you well to inspect the JSON returned from the API. There is a lot of data in there that might be useful to the client calling your API.
{
"content": [
{
"id": 1,
"firstName": "Britany",
"lastName": "Pacocha",
"phoneNumber": "287-165-0052",
"email": "[email protected]",
"address": {
"id": 2,
"address": "4638 Elmer Turnpike",
"city": "Mannfort",
"state": "Mississippi",
"zip": "08278"
}
},
{
"id": 3,
"firstName": "Darrick",
"lastName": "Koepp",
"phoneNumber": "900.079.5978",
"email": "[email protected]",
"address": {
"id": 4,
"address": "77288 Darleen Isle",
"city": "Walshstad",
"state": "Washington",
"zip": "62580"
}
},
{
"id": 5,
"firstName": "Kristal",
"lastName": "Simonis",
"phoneNumber": "(599) 177-7520",
"email": "[email protected]",
"address": {
"id": 6,
"address": "7532 Kirlin Glens",
"city": "North Lauren",
"state": "New Mexico",
"zip": "09585"
}
}
],
"pageable": {
"sort": {
"empty": true,
"sorted": false,
"unsorted": true
},
"offset": 0,
"pageNumber": 0,
"pageSize": 3,
"paged": true,
"unpaged": false
},
"last": false,
"totalPages": 34,
"totalElements": 100,
"first": true,
"size": 3,
"number": 0,
"sort": {
"empty": true,
"sorted": false,
"unsorted": true
},
"numberOfElements": 3,
"empty": false
}
Conclusion
Congratulations 🥳 You just created an application that uses the Spring Data Paging and Sorting Repository. This allows the client to display a small number of records when working with a large dataset.
If you want to check out the code for this tutorial you can view this repo on Github which is part of a bigger tutorial I am working on. If you have any questions about what you built today, please let me know. As always friends...
Happy Coding!
Dan
Related Articles
Spring Data AOT Repositories: Faster Startup and Build-Time Query Validation
Learn how Spring Data AOT Repositories move query processing from runtime to compile time, reducing startup times and memory usage, plus how to validate repository methods at build time.
What's New in Spring Framework 7 and Spring Boot 4
A comprehensive look at the new features in Spring Framework 7 and Spring Boot 4, including code examples and resources to help you get started
My CYC 2025 Demo: Why Building MCP Servers in Java Just Got Ridiculously Simple
Learn how Spring AI 1.1.0-M2 makes building MCP servers in Java incredibly simple with just annotations. No callbacks, no complex setup. Includes complete code from my Commit Your Code 2025 conference demo, showing how to expose your Java application's data to Claude and other AI assistants.