Remember when Ruby on Rails launched with that famous "build a blog in 5 minutes" demo? It showed off the power of convention over configuration, even if we all knew that blog wasn't production-ready. Spring Boot brings that same rapid development experience to the Java ecosystem, and with Spring Boot 4, getting a REST API up and running takes just a few minutes.
This tutorial walks through building a Spring Boot 4 REST API from scratch. We'll create a working CRUD API for managing meetup groups, complete with GET, POST, PUT, and DELETE endpoints.
📦 Get the Code
Follow along with the complete working example.
What You Need to Get Started
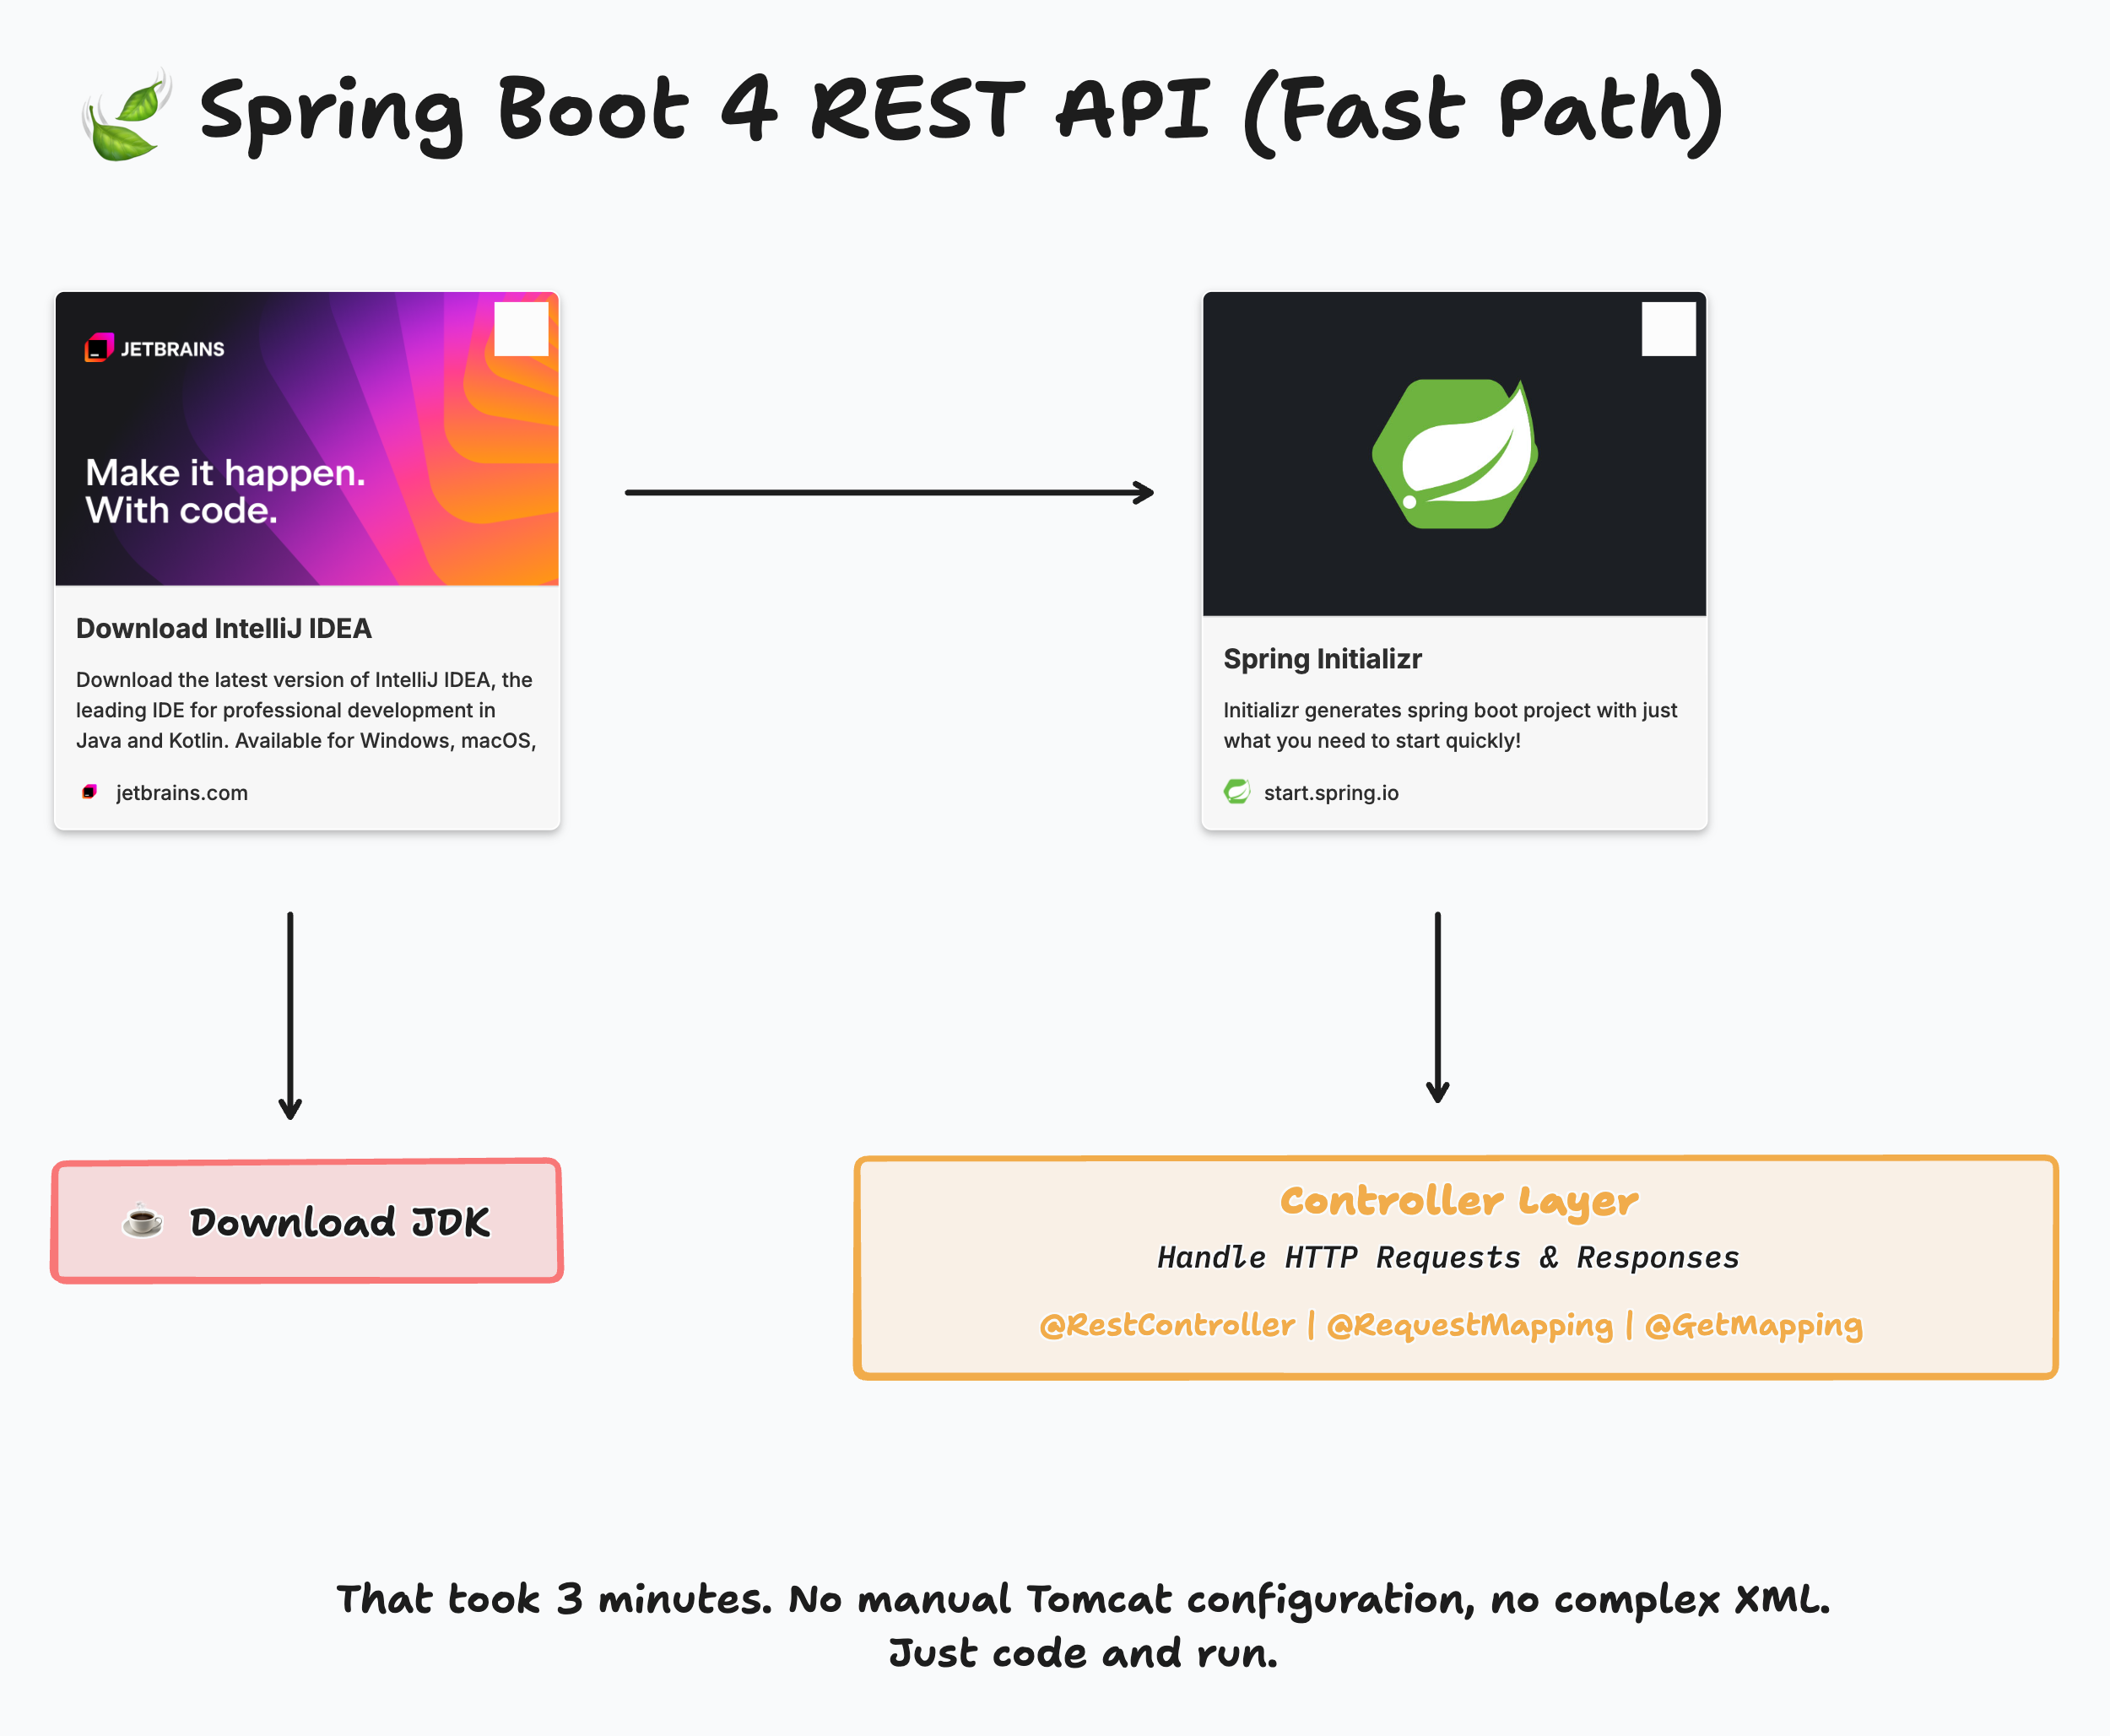
Before writing any code, you'll need two things: an IDE and a JDK.
IntelliJ IDEA is my IDE of choice. JetBrains recently combined their Community and Ultimate editions into a single download, and the Spring Initializr integration that used to require the paid version is now available to everyone. You can download a JDK directly from within IntelliJ, which saves you from hunting around for downloads or setting up tools like SDKMAN (though SDKMAN is excellent if you need multiple JDK versions).
Once you have the IDE and JDK ready, head to start.spring.io to generate your project.
Creating the Project with Spring Initializr
At the Spring Initializr, configure your project with these settings:
- Project: Maven
- Language: Java
- Spring Boot: 4.0.0
- Group: dev.danvega (or your own package name)
- Artifact: meetup
- Java: 25
For dependencies, add Spring Web. That's the only dependency you need for a REST API. Spring Boot's web starter brings in everything required: an embedded Tomcat server, Jackson for JSON serialization, and the Spring MVC framework.
Click Generate, extract the ZIP file, and open the project in IntelliJ.
Understanding the Project Structure
Spring Boot generates a minimal project structure:
src/main/java/dev/danvega/meetup/
├── MeetupApplication.java
The MeetupApplication class is your entry point:
package dev.danvega.meetup;
import org.springframework.boot.SpringApplication;
import org.springframework.boot.autoconfigure.SpringBootApplication;
@SpringBootApplication
public class MeetupApplication {
static void main(String[] args) {
SpringApplication.run(MeetupApplication.class, args);
}
}
The @SpringBootApplication annotation does a lot of work behind the scenes. It enables auto-configuration,
component scanning, and marks this class as a configuration source. When you run this class, Spring Boot starts an
embedded Tomcat server on port 8080.
Creating Your First Controller
A controller in Spring MVC handles HTTP requests and returns responses. Think of it as air traffic control for your API. It receives incoming requests, processes them, and sends back the appropriate response.
Create a new class called HomeController:
package dev.danvega.meetup;
import org.springframework.web.bind.annotation.GetMapping;
import org.springframework.web.bind.annotation.RestController;
@RestController
public class HomeController {
@GetMapping("/")
public String home() {
return "Hello World!";
}
}
The @RestController annotation tells Spring this class handles REST requests. It combines @Controller and @ResponseBody,
meaning the return value of each method gets written directly to the HTTP response body (no view templates involved).
@GetMapping("/") maps HTTP GET requests to the root path to this method. Run the application and visit http://localhost:8080
in your browser. You'll see "Hello World!" displayed.
No XML configuration. No manual Tomcat setup. Just code and run.
Defining the Data Model with Java Records
For our meetup application, we need to represent a Group. Java records provide a concise way to create immutable data classes:
package dev.danvega.meetup.group;
import java.time.LocalDate;
record Group(
Long id,
String name,
String description,
String city,
String organizer,
LocalDate createdDate
) {
}
This single record declaration gives you a constructor, getters, equals(), hashCode(), and toString() for free.
Records work great for API models since JSON responses are typically read-only snapshots of your data.
Building the REST Controller with CRUD Operations
Now let's create a controller to manage groups. This is where the real REST API takes shape:
package dev.danvega.meetup.group;
import jakarta.annotation.PostConstruct;
import org.springframework.http.HttpStatus;
import org.springframework.web.bind.annotation.*;
import org.springframework.web.server.ResponseStatusException;
import java.time.LocalDate;
import java.util.ArrayList;
import java.util.List;
import java.util.concurrent.atomic.AtomicLong;
@RestController
@RequestMapping("/api/groups")
class GroupController {
private final List<Group> groups = new ArrayList<>();
private final AtomicLong idCounter = new AtomicLong(1);
@GetMapping
List<Group> findAll() {
return groups;
}
@GetMapping("/{id}")
Group findById(@PathVariable Long id) {
return groups.stream()
.filter(g -> g.id().equals(id))
.findFirst()
.orElseThrow(() -> new ResponseStatusException(HttpStatus.NOT_FOUND, "Group not found"));
}
@PostMapping
@ResponseStatus(HttpStatus.CREATED)
Group create(@RequestBody Group group) {
Group newGroup = new Group(
idCounter.getAndIncrement(),
group.name(),
group.description(),
group.city(),
group.organizer(),
group.createdDate() != null ? group.createdDate() : LocalDate.now()
);
groups.add(newGroup);
return newGroup;
}
@PutMapping("/{id}")
Group update(@PathVariable Long id, @RequestBody Group group) {
Group existing = findById(id);
Group updatedGroup = new Group(
id,
group.name(),
group.description(),
group.city(),
group.organizer(),
group.createdDate()
);
groups.remove(existing);
groups.add(updatedGroup);
return updatedGroup;
}
@DeleteMapping("/{id}")
@ResponseStatus(HttpStatus.NO_CONTENT)
void delete(@PathVariable Long id) {
Group existing = findById(id);
groups.remove(existing);
}
@PostConstruct
private void init() {
groups.add(new Group(
idCounter.getAndIncrement(),
"Cleveland Java User Group",
"A community of Java developers in the Cleveland area",
"Cleveland",
"Dan Vega",
LocalDate.of(2010, 3, 15)
));
}
}
Let's break down what each annotation does:
@RequestMapping("/api/groups") sets the base URL for all endpoints in this controller. Every method inherits this path.
@GetMapping handles HTTP GET requests. The findAll() method responds to GET /api/groups and returns all groups as JSON.
@GetMapping("/{id}") includes a path variable. The {id} placeholder gets extracted and passed to the method via @PathVariable.
@PostMapping handles HTTP POST requests for creating new resources. The @RequestBody annotation tells Spring to deserialize the incoming JSON into a Group object.
@PutMapping("/{id}") handles HTTP PUT requests for updates.
@DeleteMapping("/{id}") handles HTTP DELETE requests.
@ResponseStatus sets the HTTP status code. CREATED (201) is appropriate for successful POST requests, NO_CONTENT (204) for DELETE.
@PostConstruct marks a method to run after the bean is created. We use it here to seed some initial data.
How Spring Converts Java to JSON
When you return a Java object from a controller method, Spring automatically converts it to JSON.
This happens because of Jackson, which gets included as a transitive dependency from spring-boot-starter-web.
Call GET /api/groups and you'll receive:
[
{
"id": 1,
"name": "Cleveland Java User Group",
"description": "A community of Java developers in the Cleveland area",
"city": "Cleveland",
"organizer": "Dan Vega",
"createdDate": "2010-03-15"
}
]
No manual serialization code required. Spring handles the conversion based on the method's return type.
Testing the API
You can test your API using any HTTP client. IntelliJ has a built-in HTTP client, or you can use tools like Postman or curl.
Here are example requests:
Get all groups:
GET http://localhost:8080/api/groups
Get a single group:
GET http://localhost:8080/api/groups/1
Create a new group:
POST http://localhost:8080/api/groups
Content-Type: application/json
{
"name": "Cleveland Rust Meetup",
"description": "Rust developers in CLE",
"city": "Cleveland",
"organizer": "Jane Doe"
}
Update a group:
PUT http://localhost:8080/api/groups/1
Content-Type: application/json
{
"name": "Cleveland Java User Group",
"description": "Updated description",
"city": "Cleveland",
"organizer": "Dan Vega",
"createdDate": "2010-03-15"
}
Delete a group:
DELETE http://localhost:8080/api/groups/1
What's Missing for Production
This tutorial demonstrates how quickly you can get a REST API running with Spring Boot 4. But it's a parlor trick, not production code. A real application needs:
Persistence: We're storing data in an ArrayList, which disappears when the app restarts. You'd want Spring Data JPA with a database like PostgreSQL.
Validation: There's no input validation. The spring-boot-starter-validation dependency adds Jakarta Bean Validation support.
Error Handling: Custom exception handlers provide better error responses than the defaults.
Service Layer: The controller contains business logic that should live in a separate service class. This improves testability and follows the single responsibility principle.
Security: Authentication and authorization for protecting endpoints.
Testing: Unit tests and integration tests for confidence in your code.
Each of these topics deserves its own tutorial, and I'm planning a comprehensive Spring Boot 4 course that covers building production-ready applications from start to finish.
Conclusion
Spring Boot makes REST API development straightforward. With minimal setup, you can create endpoints that handle JSON
requests and responses. The @RestController annotation, combined with mapping annotations like @GetMapping and @PostMapping,
lets you build a complete CRUD API in minutes.
The key takeaways:
- Use start.spring.io to generate projects with the right dependencies
- @RestController marks a class as a REST endpoint handler
- @RequestMapping sets a base path for all methods in a controller
- Java records provide a clean way to define your data models
- Path variables and request bodies let you accept input from clients
- Spring handles JSON serialization automatically via Jackson
Try building your own API using this pattern. Start with something small, get it working, then layer on the additional concerns as you learn them.
Happy Coding!
Related Articles
GraphQL for Java Developers
Learn how to build scalable GraphQL APIs with Java 26 and Spring Boot 4. This course walks you through schema-first development, batch loading, unions, Query by Example, AOT repositories, and more.
Spring, Build Me a Coding Agent
Learn how to build an autonomous coding agent in Spring AI using the Spring AI Agent Utils library. This tutorial walks you through creating a CLI-based agent with file system access, shell commands, and skills.
Building a Spring Initializr Terminal UI with Java
How I built a terminal user interface for the Spring Initializr using Tambu UI, a new Java TUI framework, and GraalVM native images to streamline my development workflow.