Authentication is a vital aspect of most applications, and Spring Boot provides several methods to control access. One of these methods is the use of CORS - a flexible, HTTP header-based mechanism that allows for the specification of authorized cross-domain requests. This article guides you through configuring CORS in Spring Boot at the controller, method, and global levels, as well as managing CORS when adding Spring Security.
Getting Started
The tutorial assumes you have Java and Maven installed on your machine. You would also need an IDE such as IntelliJ. All the resources and code used in this article are available on this GitHub repository. Let's dive right in!
Creating a New Spring Boot Project
Start by creating a new Maven project at start.spring.io, choosing Java as the language, Java 17 as the version, and fill in the Group as "dev.danvega" and Artifact as "cors-demo". The only dependency we would need for now is Spring Web.
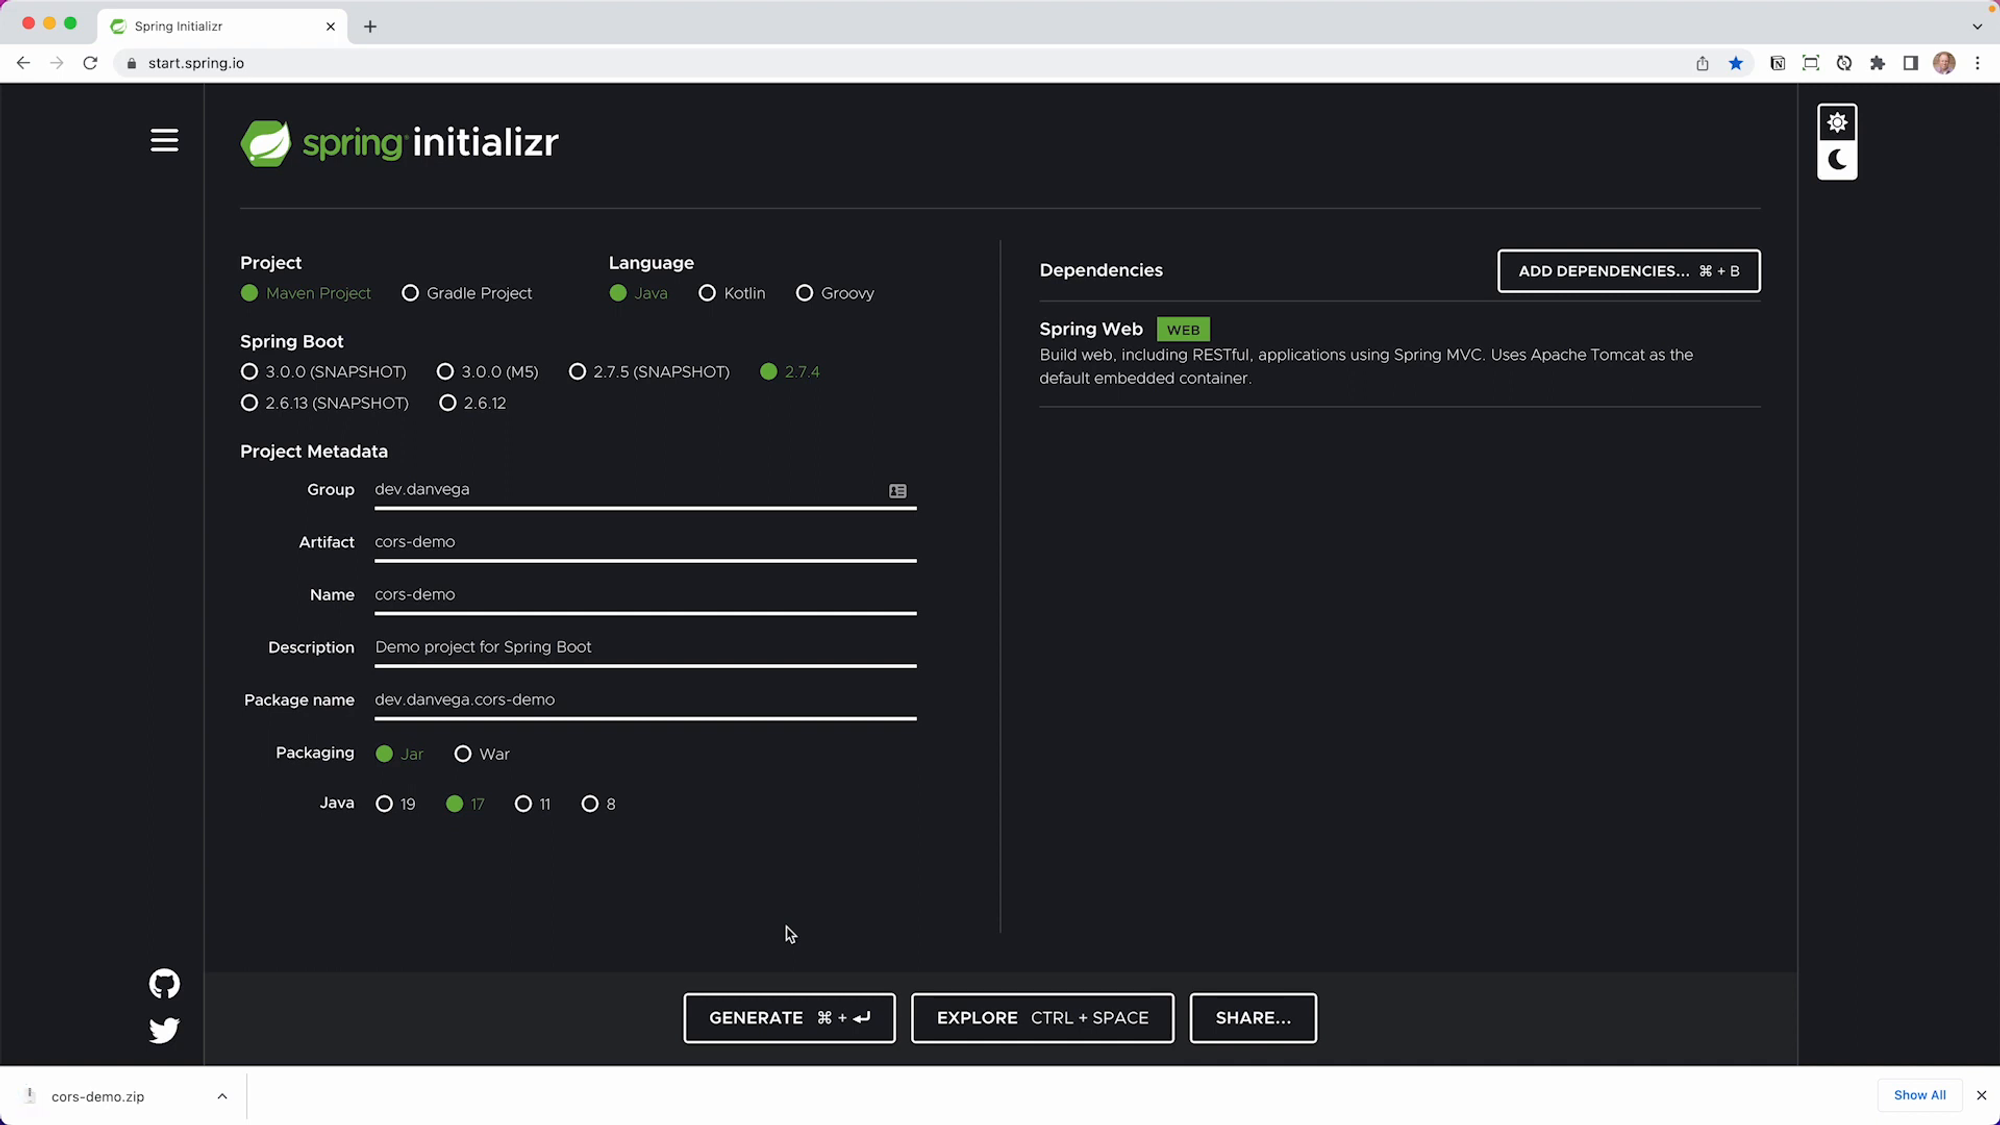
Once done with the setup, generate the project and open the downloaded .zip file in your preferred text editor or IDE.
Building Our Model
For our demo, we will create a Coffee model. In the main package within the src folder, create a new package named model. Within the model package, create a new class named Coffee. Here, we will create an enum called Size that contains the values short, tall, grande, and venti.
public class Coffee {
private Integer id;
private String name;
private Size size;
// TODO: Add getters and setters
}
public enum Size {
SHORT,
TALL,
GRANDE,
VENTI
}
Creating Our Controller
To begin, create a new package called controller in the main package. Inside the controller package, create a new Java class called CoffeeController.
In the CoffeeController class, we will use the @RestController annotation to indicate that the class is capable of accepting requests and returning responses. We will also set the @RequestMapping to "API/coffee". Finally, we will create a list of coffees and define two mappings: a @GetMapping to return all the coffees, and a @DeleteMapping to delete a specific coffee by ID.
@RestController
@RequestMapping("API/coffee")
public class CoffeeController {
private List<Coffee> coffeeList = new ArrayList<>(Arrays.asList(
new Coffee(1, "Americano", Size.GRANDE),
new Coffee(2, "Latte", Size.VENTI),
new Coffee(3, "Macchiato", Size.TALL)
));
@GetMapping
public List<Coffee> findAll() {
return coffeeList;
}
@DeleteMapping("/{id}")
public void delete(@PathVariable Integer id) {
coffeeList.removeIf(c -> c.getId().equals(id));
}
}
If you run the application using the command mvn spring-boot:run (or directly from your IDE), you can view the coffee list at localhost:8080/API/coffee.
Understanding CORS: Cross-Origin Resource Sharing
You're able to view the coffee list at the provided localhost URL because the request is coming from the same origin, where the domain and port match. However, issues may arise when cross-origin requests occur, such as when the domain, scheme, or port differ.
For example, suppose another application is running on a different port, say localhost:5173, and it attempts to fetch our coffee list from localhost:8080/API/coffee. In this case, CORS intervenes and blocks the request because it originates from a different port. If you're interested in learning more about this topic, Mozilla's network documentation provides an in-depth explanation.
Configuring CORS in Your Spring Boot Application
So, how do we allow requests from other origins to access our APIs? Spring Boot provides a handy way to configure CORS using the @CrossOrigin annotation.
This annotation can be used at both method-level and class-level. For now, let's start by applying it at the class-level by adding @CrossOrigin at the top of our CoffeeController class.
@RestController
@RequestMapping("API/coffee")
@CrossOrigin
public class CoffeeController {
// controller content here...
}
With this configuration, the CORS error we received earlier when we tried to fetch the coffee list from localhost:5173 should be resolved. However, this configuration allows access to all origins, which may not be suitable for most applications.
Therefore, if you want to allow specific origins, you can do so by passing them to the @CrossOrigin annotation. You can either use the origins property or pass them directly as the value property (which is an alias for origins). The syntax would look like this:
@CrossOrigin(origins = "http://localhost:5173")
or
@CrossOrigin("http://localhost:5173")
In either case, only requests from localhost:5173 will be allowed, and other cross-origin requests will be blocked. This is more suitable for a production-grade application where you want only specific applications to access your APIs.
Moreover, the @CrossOrigin annotation can also be applied at a granular level, specifically on methods, which allows for fine-grained control over which API endpoints should allow cross-origin requests.
Configuring CORS Globally
For larger applications with many controllers, it may be more efficient to configure CORS globally instead of annotating each controller or method separately. This can be done by creating a configuration class that implements the WebMvcConfigurer interface and overrides its addCorsMappings method.
@Configuration
public class WebMvcConfig implements WebMvcConfigurer {
@Override
public void addCorsMappings(CorsRegistry registry) {
registry.addMapping("/**")
.allowedOrigins("http://localhost:5173")
.allowedMethods("GET", "POST", "PUT", "DELETE");
}
}
In the code above, we allow all endpoints (indicated by /**) to accept cross-origin requests from localhost:5173 and permit the HTTP methods GET, POST, PUT, and DELETE.
Configuring CORS With Spring Security
Adding Spring Security to a Spring Boot application changes things a bit. The issue is that CORS needs to be processed before Spring Security. This is because CORS makes a preflight request that does not contain any cookies. If Spring Security is processed first, it will reject the request as unauthenticated.
To solve this, we need to include a CORS configuration in our Spring Security configuration class. Spring's HTTP security has a cors() method that can be used to apply CORS configuration. Calling cors() without arguments configures Spring Security to use a bean named CorsConfigurationSource.
We can define this CorsConfigurationSource bean in our security configuration class itself.
@EnableWebSecurity
public class SecurityConfig {
@Bean
public CorsConfigurationSource corsConfigurationSource() {
CorsConfiguration configuration = new CorsConfiguration();
configuration.setAllowedOrigins(Arrays.asList("http://localhost:5173"));
configuration.setAllowedMethods(Arrays.asList("GET", "POST"));
UrlBasedCorsConfigurationSource source = new UrlBasedCorsConfigurationSource();
source.registerCorsConfiguration("/**", configuration);
return source;
}
@Bean
public SecurityFilterChain securityFilterChain(HttpSecurity http) {
http.authorizeRequests().anyRequest().authenticated().and().httpBasic();
return http.build();
}
}
In the code above, we create a CorsConfigurationSource bean, define allowed origins and methods for CORS, register CORS configuration, and use this CORS configuration bean in our Spring Security configuration.
Wrapping Up
In this detailed step-by-step guide, we covered ways to configure CORS for your Spring controllers and methods, create global configurations for ease, and do the same for when you introduce Spring Security into your Spring application. Configuring CORS properly ensures that your APIs are only accessed by trusted domains, providing an extra layer of security for your application.
If you found this article helpful or have any questions or comments, feel free to reach out. Happy coding!
Related Articles
Spring Security 7 Multi-Factor Authentication: Complete Tutorial with @EnableMultiFactorAuthentication
Learn how to implement multi-factor authentication (MFA) in Spring Boot 4 using Spring Security 7's new @EnableMultiFactorAuthentication annotation. Step-by-step tutorial with one-time token login and custom PIN codes.
RestClient OAuth2 Support in Spring Security 6.4: A Complete Guide
Learn how to implement OAuth2 authentication in your Spring applications using the new RestClient OAuth2 support in Spring Security 6.4. This guide covers architecture, implementation, and best practices for secure service-to-service communication.
Building a Spring Security Login Form with JTE
Learn how to create a secure login form using Spring Security and JTE (Java Template Engine) with support for both traditional authentication and OAuth2 providers.